DocLink simplifies telehealth consults, creating a seamless experience for both your pharmacy staff and patients.
With DocLink, you can efficiently book patients in under 30 seconds to be speaking with a Medmate telehealth doctor within 15 minutes on average. Patients pay for the consult directly in the pharmacy, making the process hassle-free. All they need to do is answer their phone when the doctor calls—no apps, web portals, or extra steps required for them.
Here’s a step-by-step breakdown of how it works.
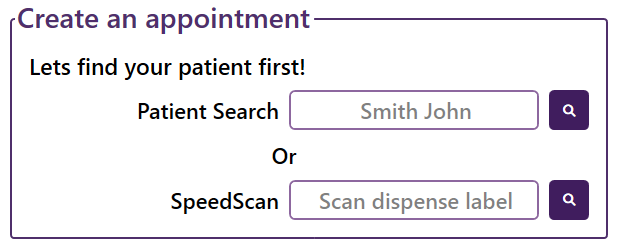
Step 1: Create a Request
From the DocLink home screen, either search for an existing patient in your pharmacy’s dispensing software or use the SpeedScan feature to scan a prescription label to automatically choose that patient.
Select the appropriate appointment type:
Rx Request: For when a patient has no repeats remaining for a regular medication they’re taking. Ideal for quick prescription renewals of ongoing treatments.
Consult: For when a prescription medication is needed to treat an acute issue that requires a doctor’s assessment (e.g., antibiotics for a common infection).
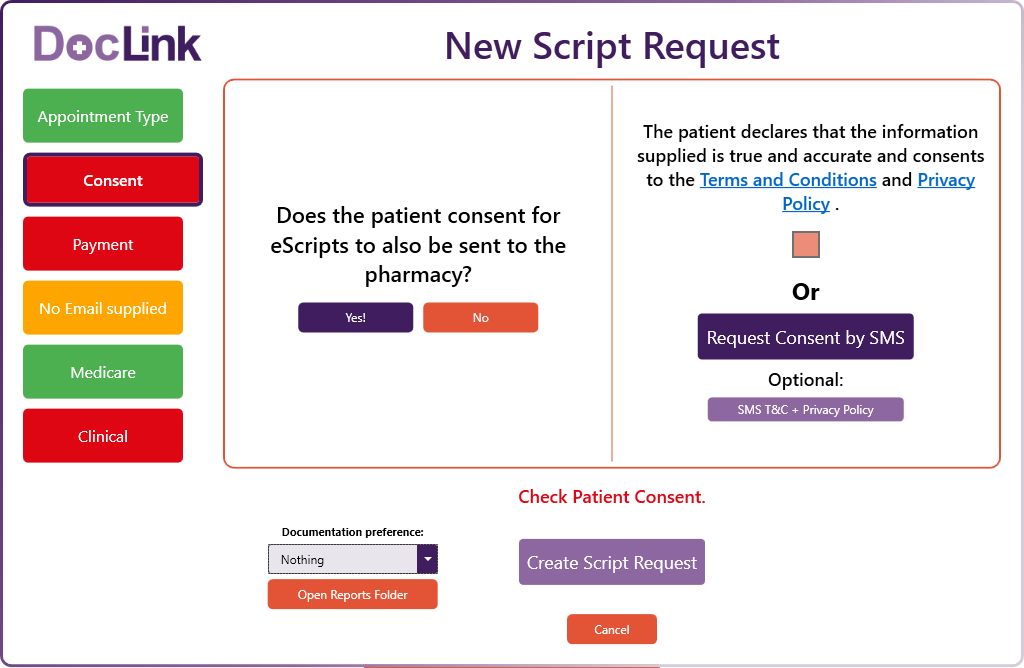
Next up is consent – both for the service itself (on the right), and for any eScripts that may be prescribed to also be sent through to the pharmacy (on the left).
You can either record the patient having provided verbal consent by just ticking the associated boxes, or you can click Request Consent by SMS to send an SMS to the patient if you’d prefer to be extra cautious depending on your preference.
If requesting consent by SMS, DocLink will automatically recognise when the patient has responded with “YES”.
If the patient would like to have links to the specific T&Cs and Privacy Policy they’re consenting to, click SMS T&C – Privacy Policy to send this through to them.
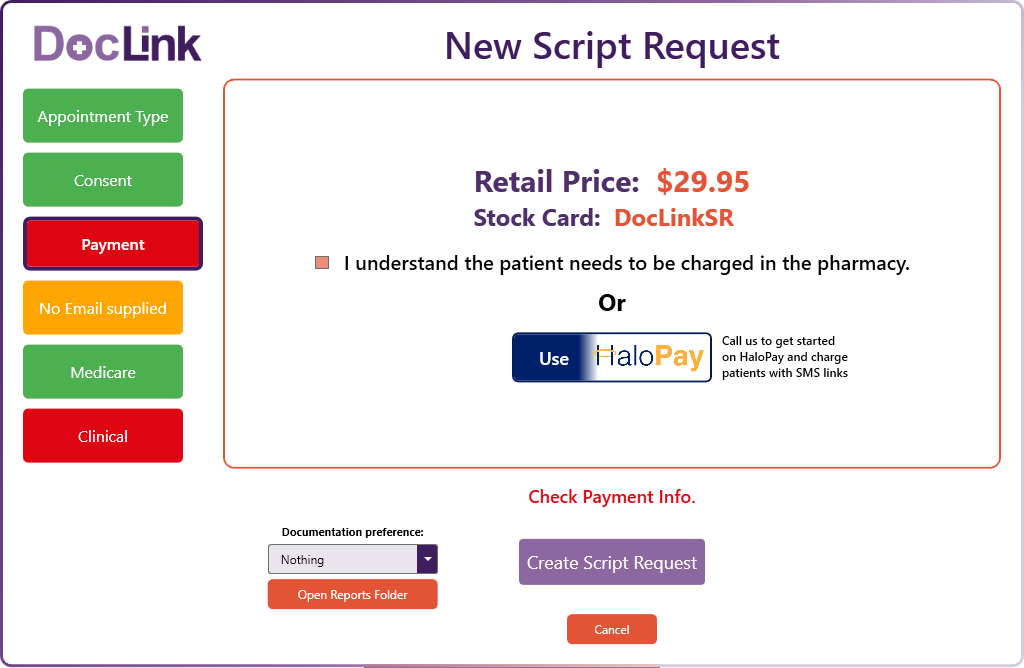
Now we have the payment. Ensure you charge the patient now (i.e., before the consult is actually booked), because:
Medmate will invoice your pharmacy monthly for each consult conducted.
While extremely rare, if the consult results in no eScript being prescribed despite one being requested (e.g., depending on the doctor’s discretion), it’s much more straightforward to have collected payment before this point.
Anything above the amount Medmate charges for each appointment type (as outlined in the initial agreement email that is sent when you activate DocLink in the Hub*) is a professional service fee you get to keep.
* Please also feel free to contact us if you’d like more specific information regarding pricing.
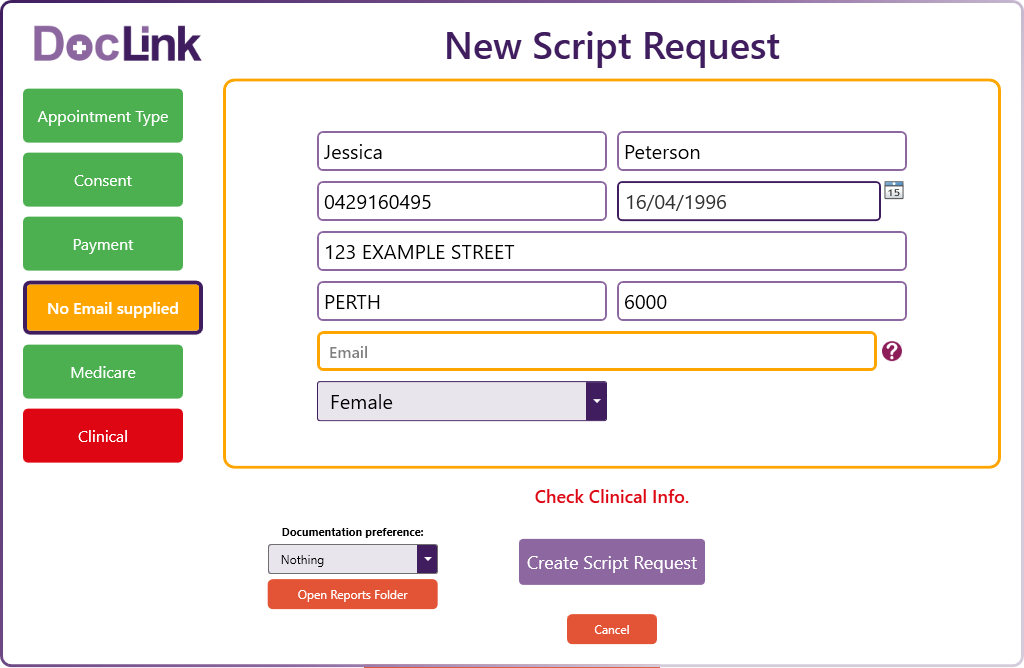
Next is the patient info. If you initially selected a patient that was synced from your dispensing software, this section (except for gender) will be mostly automatically filled.
Regarding the email field, while this is not ‘essential’, it assists Medmate in creating a patient profile on their end. If the patient doesn’t have an email, just leave this field blank (and don’t put your pharmacy email in).
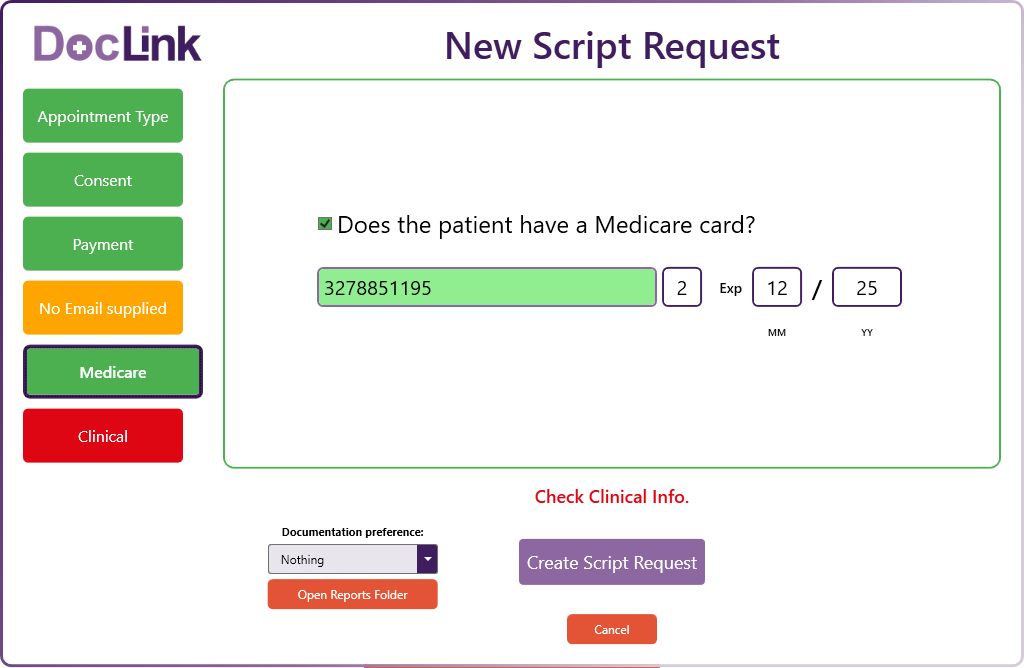
The patient’s Medicare card number will also autofill in this next section*.
If the patient does not have a Medicare card (e.g., international tourist), tick the box indicating this. The main impact of this is that the Medmate doctor won’t be able to provide an eScript, and will instead email your pharmacy a scan/photo of any paper scripts that are written (which will be posted to the pharmacy later). This carries no extra charge. Please ensure these patients have photo ID on them, as Medmate may ask for the patient to verify their identity for them to be eligible for an appointment.
* If your pharmacy uses Dispense Works, you will need to manually copy over the Medicare card number temporarily. We are working to have this amended shortly.
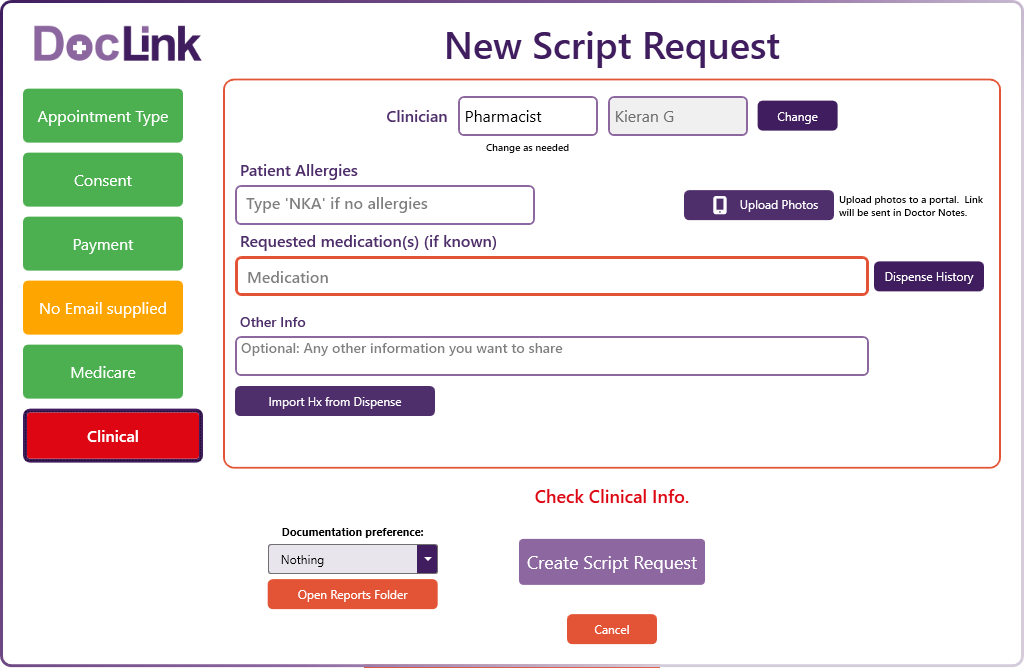
In the Clinical area, add any relevant details about the request to be sent through to the doctor to aid them in their assessment.
Rx Requests: Specify the required medication(s) (drug name, strength, formulation). Use the Dispense History button to pull this from the patient’s dispensing history, if available, to show established use (and make it easier to list the medication(s)).
Consults: Include the patient’s symptoms, medical history, and any relevant medications using Import Hx from Dispense to help the doctor avoid drug interactions.
Note: Always record the patient’s allergies. Enter NKA (No Known Allergies) if there are none.
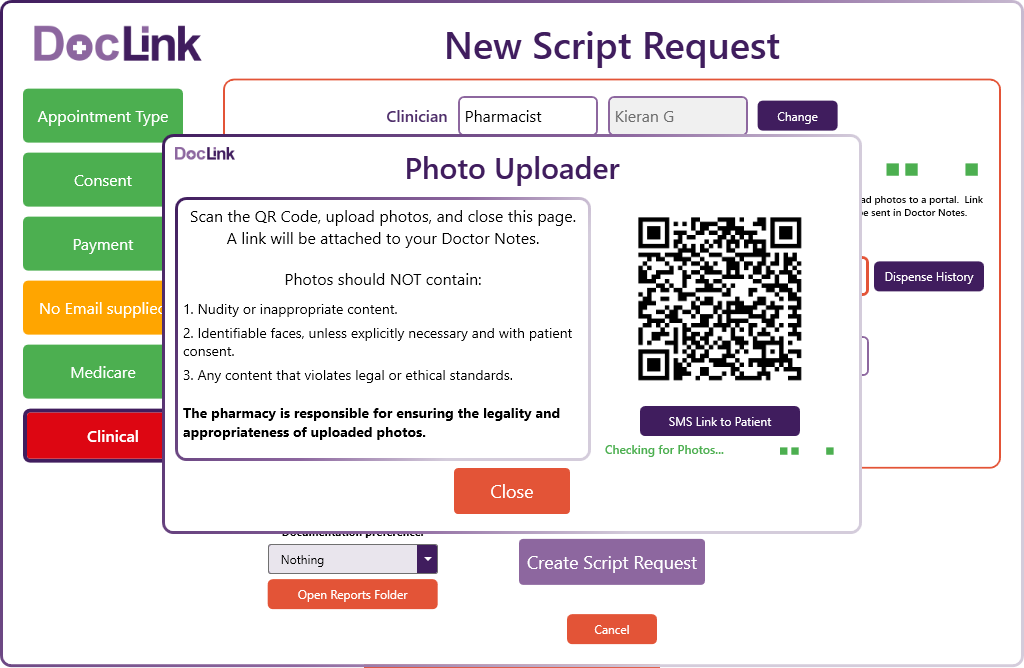
If you feel that a patient’s issue may be more effectively understood with visual confirmation (e.g., skin infection), you can upload photos with your booking that get sent through to the doctor at Medmate.
To do this, click on the Upload Photos button, and you’ll see a window as shown on the left. You can scan the QR code from any device (e.g., your own phone), and a webpage will open allowing you to take a photo and attach it. Once you upload this photo (or multiple photos), the upload will be confirmed back in DocLink, and a link to the photo(s) will be added into the booking for the doctor to access.
If using DocLink remotely (i.e., over the phone), or if the patient would prefer to take a photo themselves, you can also click SMS Link to Patient, and they will receive an SMS with a link to the upload webpage.
All photos taken expire and are wiped after 24 hours.
For the sake of security, no sensitive information within bookings are saved within DocLink (or on any Pharmacy Halo servers). The only information that is saved is:
Patient name
Patient phone number
Patient address
We do not store the patient’s date of birth, gender, or Medicare card number, nor do we store any information pertaining to the Consult / Script Request (e.g., allergies, reason for consult, medications requested, etc).
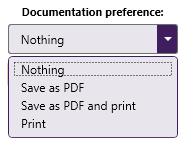
If you would like to store this information for your own records, you can set your Documentation Preference and choose if you’d like the info to be saved as a PDF, or printed (or both – the world is your oyster).
Your choice will be executed at the final point where you create the appointment.
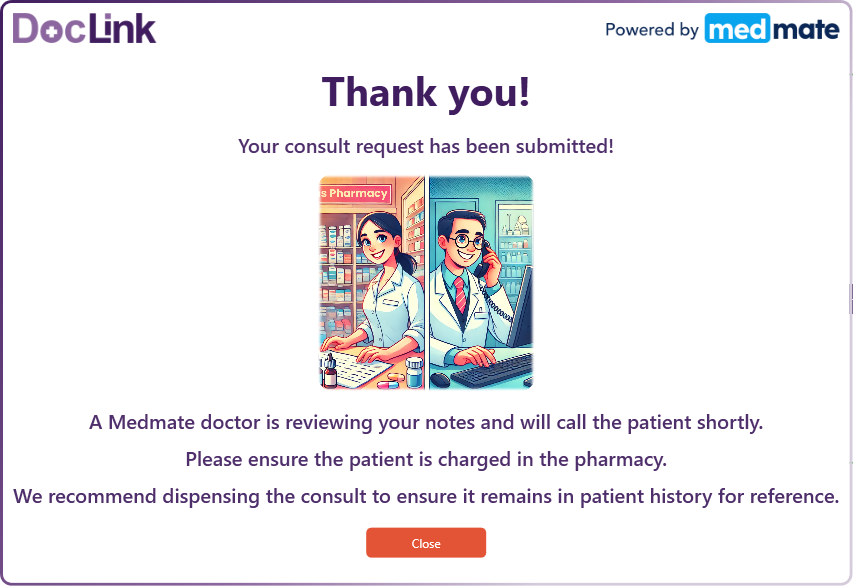
After ensuring all required information has been provided (i.e., no required steps on the left are red) and clicking the Create button, you should see this confirmation.
The patient will then receive an SMS from Medmate shortly after to let them know their request is being processed.
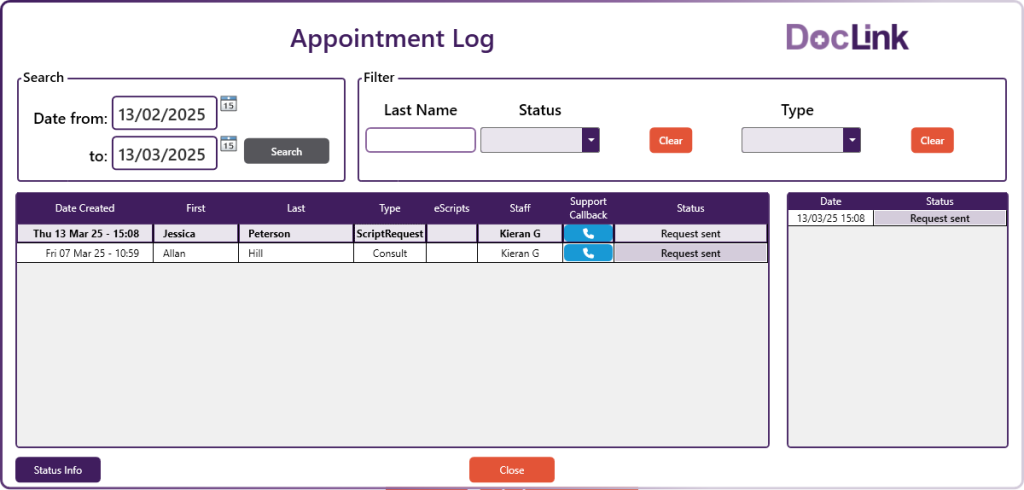
Step 2: Monitor Consult Progress in Real-Time
Open the Appointment Log from the DocLink homescreen to view all appointments and their respective statuses, of which the main ones are as follows:
Request Sent: The consult request has been successfully submitted to Medmate.
Clinic Processing: Medmate’s operations team is reviewing the request.
In Waiting Room: The patient is queued and waiting to be assigned to a doctor.
Doctor is About to Call: The patient has been assigned to a doctor, is next in line, and will be contacted shortly.
Completed: The consult has concluded, and an eScript (if issued) has been sent.
The Appointment Log window will automatically refresh to reflect when active appointments reach new statuses.
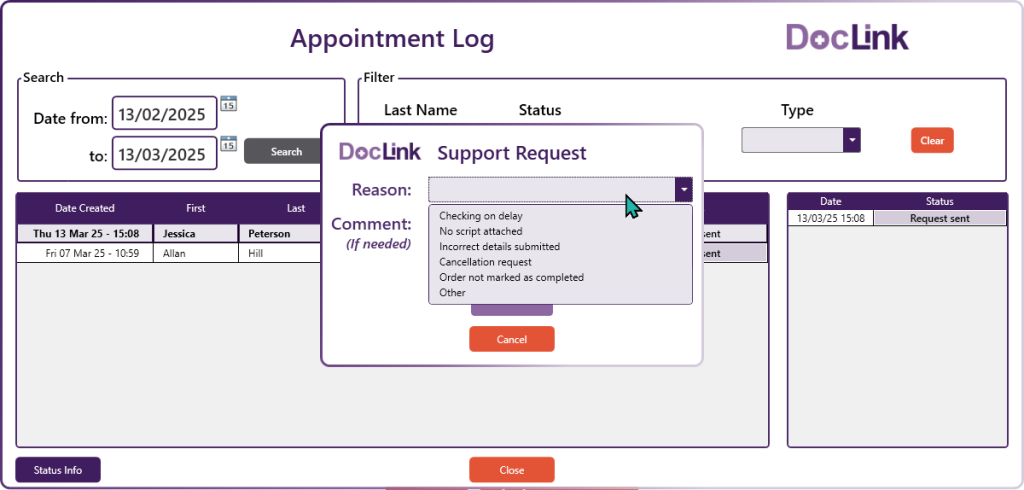
If you need to contact Medmate support for any reason, clicking on the blue phone button in the Support Callback column will open the window as shown on the left.
After choosing a reason for needing support (and entering a comment if needed), your request is immediately sent directly through to Medmate’s operations team chat. Your request also automatically contains:
Which pharmacy you’re calling from
Your name (in case they need to call for more info)
The appointment ID (so they know which appointment to investigate)
While Medmate’s support number (03 6317 1525) is on the bottom-right of the DocLink homescreen for you to call if you prefer, the Support Callback option is the most effective way to request support.
Step 3: Dispense the Script
If any eScripts are prescribed (and the patient consented to these being sent to the pharmacy), a button will appear in the eScripts column in the Appointment Log once the consult is completed.
Clicking this button allows you to then either copy any eScript token(s), or send them directly to your dispense software depending on what you use.
Any eScripts prescribed will always also be SMS’d to the patient.
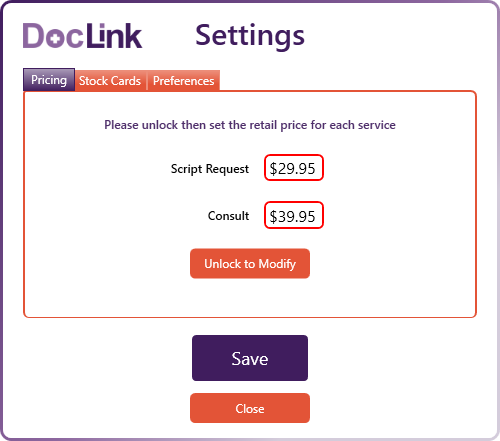
Optional: Customise Your Fees
Hot Tip: You can edit the RRPs (and the stock cards you’ve created) that are displayed during the DocLink appointment creation process via the Settings button on bottom-left of the DocLink home screen. In the Preferences area, you can set a default selection for your documentation preference as well.
The pharmacy’s account password will need to modify the displayed prices.
Keen to learn more? Check out our Tips for Success help page to see how you can further make the most out of DocLink in your pharmacy.